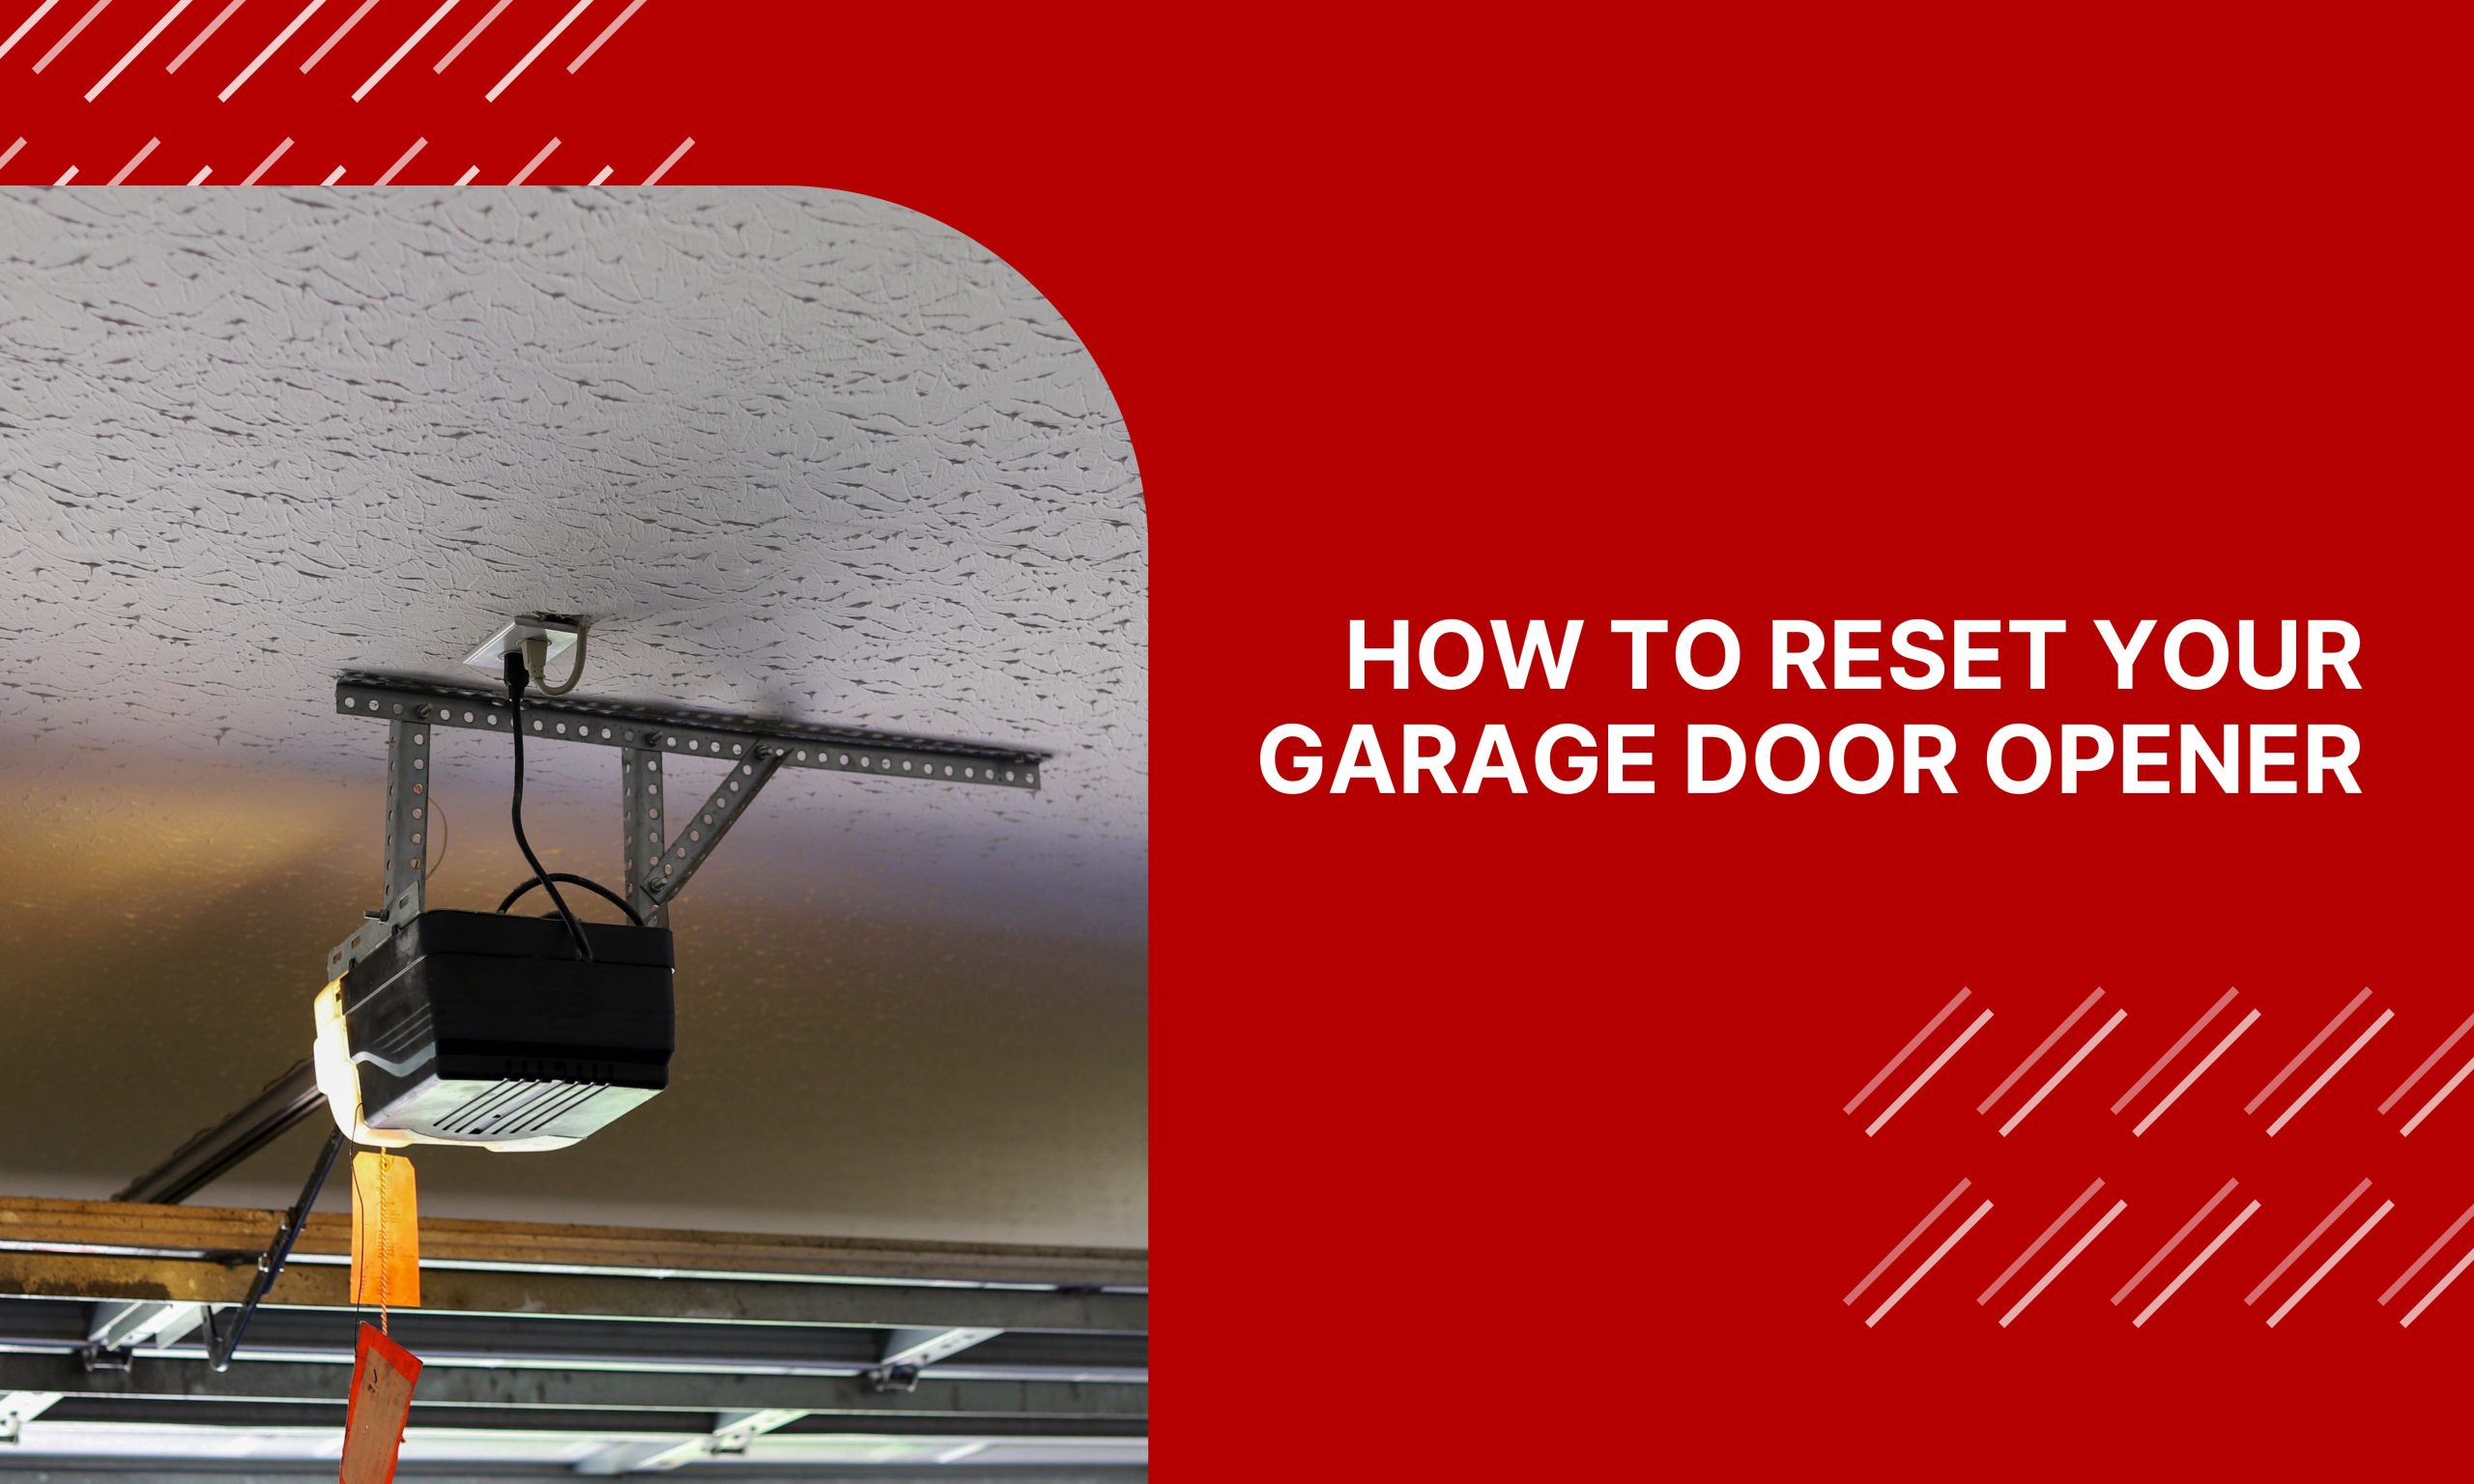
How to Reset Your Garage Door Opener
Your garage door is one of your main points of entry in and out of your home, so being able to use it is a key part of your daily life. Like anything else, though, a garage door may need some attention now and then. In many cases, resetting the garage door opener is the first step of troubleshooting a faulty door — and it’s sometimes all you need to get it working.
Steps on How to Reset a Garage Opener
While the exact process may vary between models, there are five simple steps for resetting a garage door opener after opening the door manually or encountering an issue. All you need is a stepladder and a can-do attitude.
1. Check Your Garage Door Motor
The first step is to see if your garage door opener is a newer or older model. To see which model you have, take your trusty stepladder, place it under the opener motor and climb until you can reach the motor without straining.
Older models rely on radio frequencies to work, while newer models frequently use wireless technology.
2. Open the Left Panel
The left side of the light compartment will usually double as a cover for the unit controls. Pull firmly down on this panel (but not too hard) until it swivels away from the unit. Hinges at the bottom of the panel will keep it in place for you while you work.
The panel placement may be different for different models. If you cannot find this panel on your unit, look at the back or side of the motor box.
3. Locate a Button or Switch That Says “Learn” or “Home”
If your garage door model is newer, it will have a button — older units will have a switch. To reset a garage door opener with a switch, the pattern of switches in the motor and hand-held remote must match. To access these switches, you will have to remove the cover of your remote as well.
For newer models, you will find a button in the opener panel labeled “home” or “learn.” As you press and hold it, you may notice a small LED light turning on. Continue to hold the button down until the LED light shuts off. For some openers, this step completes the reset process. Climb down and test the door with your remote — if it doesn’t open, you can proceed to step 5.
4. Deactivate Devices
In some cases, any remotes or other devices linked to your opener are still active at this point. To disconnect them, press and hold the button from step 3 again. The LED light will appear once more — release the button once this light goes out.
After this step, your devices should be deactivated. To test this, climb off your ladder and try your remote door opener to make sure the doors do not open.
5. Link New Devices
To link a new remote, climb back up and find the “learn” or “home” button again. Press the button once but do not hold it. When the LED light is on, the motor unit is ready to receive a signal.
Press a button on your opener remote. This will send out a signal to your garage door opener, and the two will become linked.
Reach out to Aladdin Doors® Today for Garage Door Assistance
At Aladdin Doors®, we are a full-service garage door company, and we’d love to help you get the most from your garage door opener. Find a location near you to request assistance or learn more about our products and services!


